Access to SqlServer Migration
Microsoft Access is a practical starting point for small business databases, but it has hard limits: file size capped at 2 GB, no concurrent write support, and no network-ready server process. SQL Server removes all of these constraints and adds transactions, row-level locking, and enterprise security. This guide covers the full migration path — schema and data — from an Access .accdb file to a SQL Server database using BlueprintDB.
Prerequisites
- BlueprintDB Pro installed (SQL Server backend requires a Pro license; Access is available on the Free tier)
- The source Access database file (
.accdbor.mdb) accessible from the machine running BlueprintDB - SQL Server instance reachable from BlueprintDB (Express edition is sufficient)
- An empty target database created in SQL Server:
CREATE DATABASE MyApp; - A SQL Server login with
db_ownerrights on the target database, or at minimumCREATE TABLEandINSERTpermissions
Access driver note: BlueprintDB connects to Access via the Microsoft ACE OLEDB driver. If you see a connection error on a 64-bit system, install the Microsoft Access Database Engine 2016 Redistributable (64-bit) from the Microsoft Download Center.
Step 1 — Create a Program in BlueprintDB
A Program in BlueprintDB is a named metadata container — it holds the tables, columns, and relations that describe one logical database. Create one before importing anything.
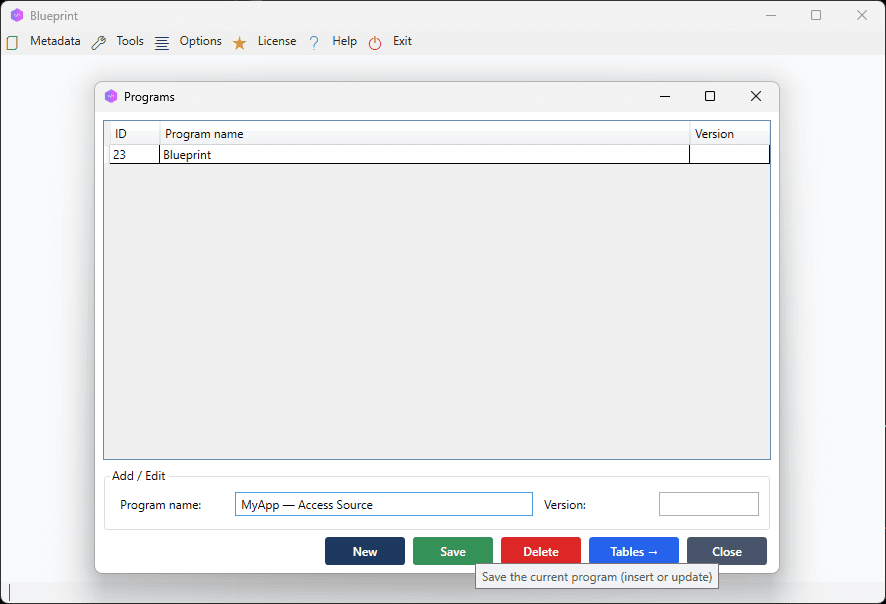
- Open BlueprintDB and click Programs in the main menu.
- Click New, name the Program (e.g. MyApp — Access Source), and click Save.
[SCREENSHOT: Programs window, new program row selected and saved]
Step 2 — Import the Access Schema
Schema Import reads the structure of the Access database and populates the Blueprint automatically. It captures table names, column names, data types, field sizes, required flags (NOT NULL), and primary keys.
- Click Schema Import in the main menu.
- At the bottom of the window, select from the combo box Existing Program the name of the program you have created in the previous step (MyApp — Access Source).
- Press Next.
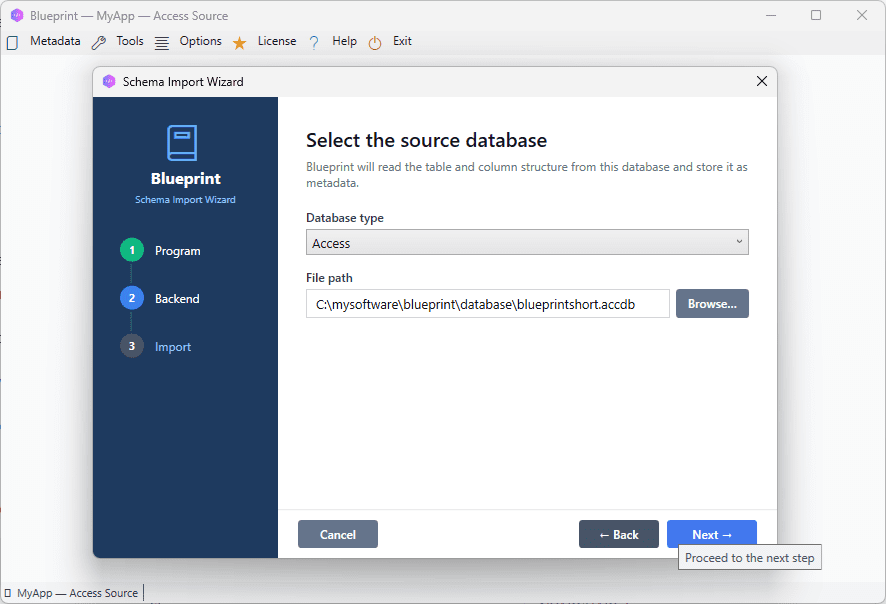
- Select MS Access as the backend.
- Click the folder icon next to the file path field and browse to your
.accdbfile. - Click Next. BlueprintDB imports all tables in the file, excluding system tables (
MSys*).
[SCREENSHOT: Schema Import window, MS Access selected, file path filled]
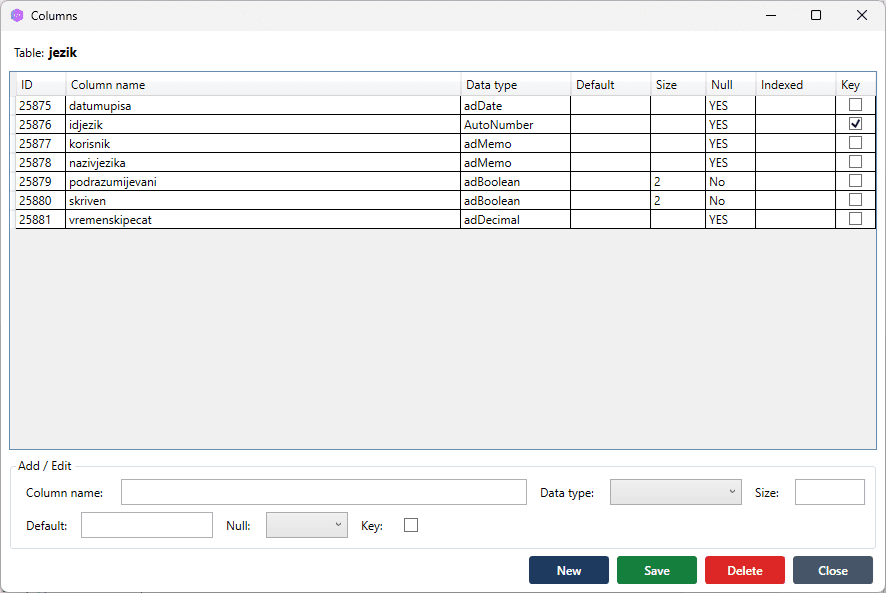
After import, open the Tables and Columns windows to verify the result.
[SCREENSHOT: Columns window for one imported table, showing column names and mapped types]
Access to SQL Server type mapping
BlueprintDB maps Access field types to its canonical type system, which is then translated to SQL Server types during Schema Sync:
| Access type | Canonical type | SQL Server type |
|---|---|---|
| Short Text / Text | String | NVARCHAR(n) |
| Long Text / Memo | LongText | NVARCHAR(MAX) |
| Number (Integer) | Integer | INT |
| Number (Long Integer) | Integer | BIGINT |
| Number (Double) | Float | FLOAT |
| Currency | Decimal | NUMERIC(19,4) |
| Yes/No | Boolean | BIT |
| Date/Time | DateTime | DATETIME2 |
| AutoNumber | Integer (PK, Identity) | INT IDENTITY(1,1) |
| OLE Object / Attachment | Binary | VARBINARY(MAX) |
Review the mapped types in the Columns window after import. If any column shows an unexpected type, click the column row, adjust the type, and save before proceeding.
Step 3 — Review Relations
Access supports relationships defined in the Relationships view. BlueprintDB imports these as entries in the Relations window, which will be created as FOREIGN KEY constraints in SQL Server.
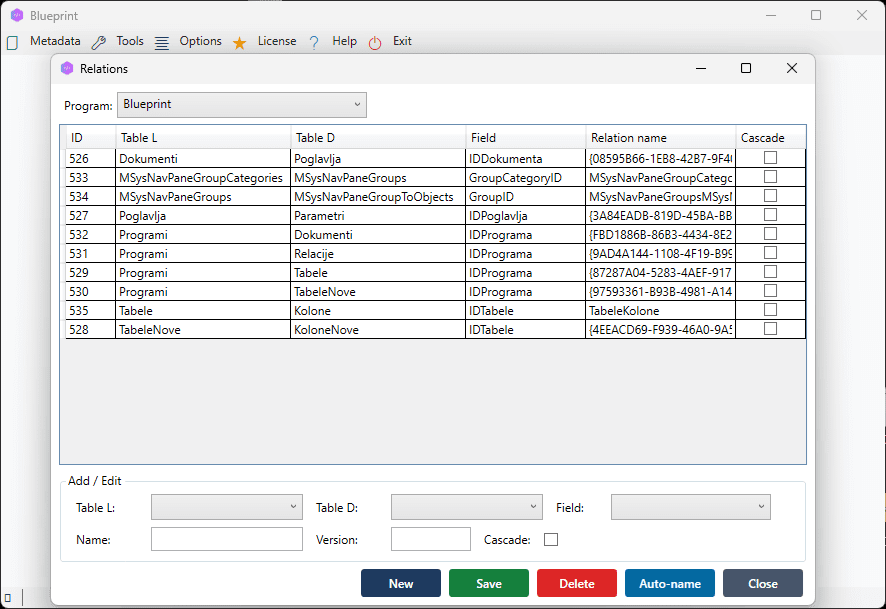
- Click Relations in the main menu.
- Verify that all expected foreign key relationships are listed.
- If a relation is missing, click New and define it manually (parent table, child table, linked columns).
[SCREENSHOT: Relations window showing imported foreign key relationships between tables]
Access quirk: Relationships defined with “Enforce Referential Integrity” in Access are imported as foreign keys. Relationships without that flag are informational only and may not appear in BlueprintDB’s Relations list. Add them manually if needed.
Step 4 — Sync the Schema to SQL Server
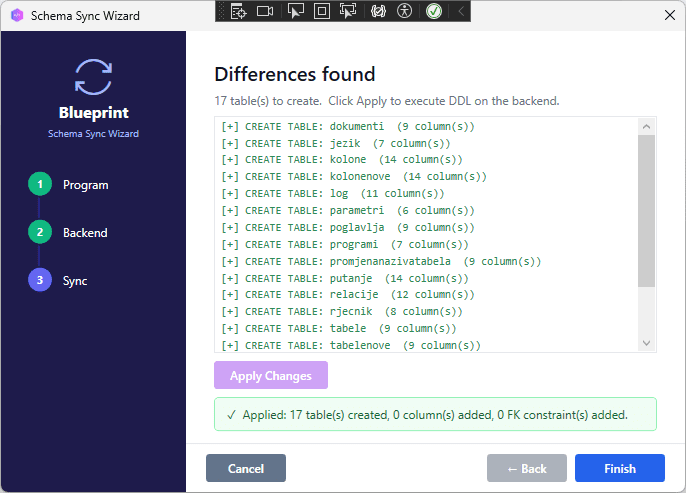
Schema Sync generates and executes the DDL needed to create all tables, columns, constraints, and indexes in the target SQL Server database.
- Click Schema Sync in the main menu.
- Select SQL Server as the backend.
-
Enter the connection details:
- Server — hostname or IP, optionally with instance name (e.g.
192.168.1.10\SQLEXPRESS) - Database — the empty target database name
- Authentication — SQL Server login or Windows Authentication
- Server — hostname or IP, optionally with instance name (e.g.
- Click Analyse. On an empty database, all Blueprint tables appear as missing.
- Click Apply to create the schema.
[SCREENSHOT: Schema Sync, SQL Server selected, diff list showing all tables marked for creation, Apply Changes button]

BlueprintDB creates tables in dependency order — parent tables before child tables — so foreign key constraints are applied without errors.
[SCREENSHOT: Schema Sync success screen, all items green]
Step 5 — Transfer the Data
With the schema ready in SQL Server, use the Transfer Data Wizard to copy all rows from Access.
- Click Transfer Data in the main menu.
- Set the source: backend = MS Access, file path = your
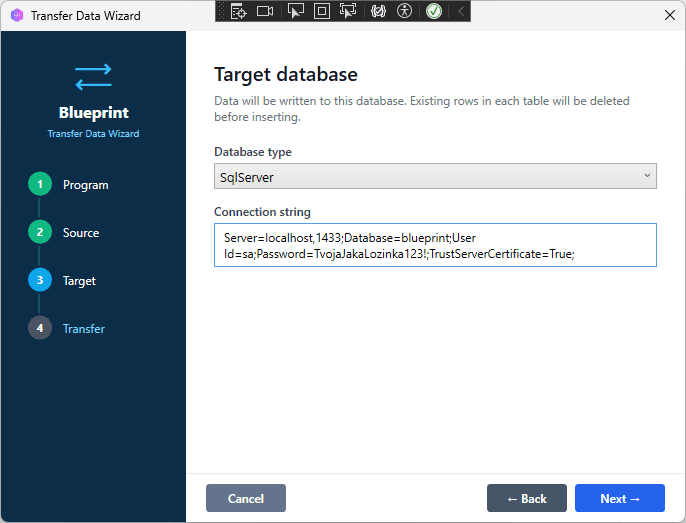
.accdbfile. - Set the destination: backend = SQL Server, enter the same connection details as Step 4.
- Click Next, select all tables, and click Start Transfer.
[SCREENSHOT: Transfer Data Wizard, source Access and destination SQL Server configured, all tables selected]
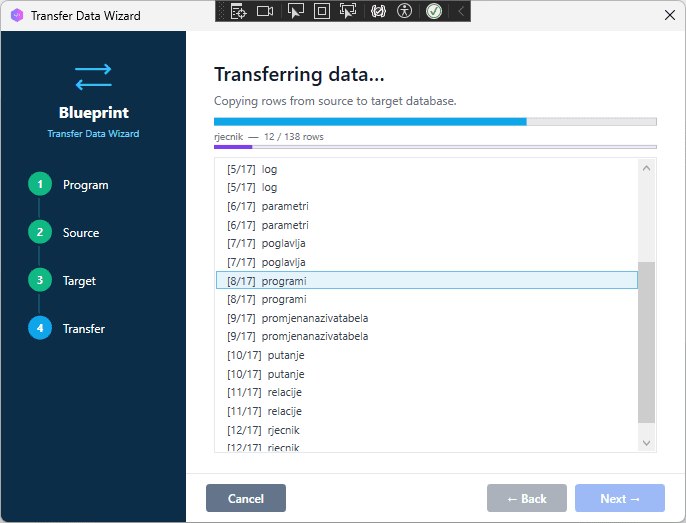
The wizard inserts rows in batches. The log panel shows progress per table — table name, rows transferred, and elapsed time.
[SCREENSHOT: Transfer log panel mid-transfer, showing per-table row counts and progress]
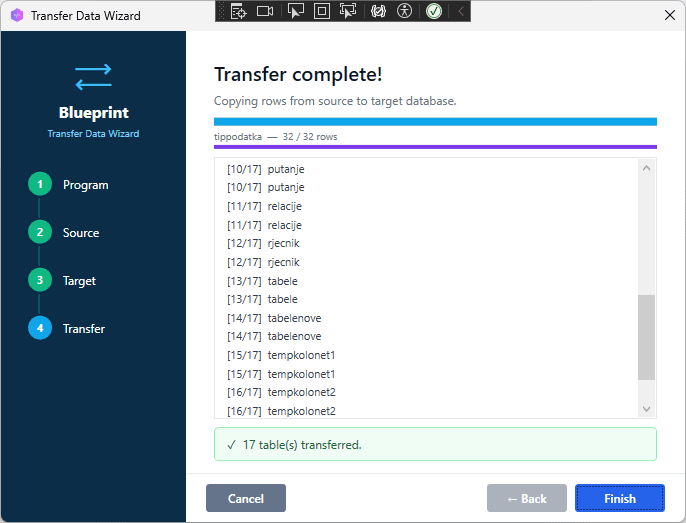
When finished, a summary screen shows the total tables and rows transferred.
[SCREENSHOT: Transfer complete, summary showing tables processed, total rows, 0 errors]
Step 6 — Reset Identity Columns
SQL Server IDENTITY columns start at 1 by default and do not auto-adjust after a bulk insert. After the transfer, reseed each identity column to avoid primary key conflicts when the application inserts new rows:
-- Replace 'Orders' and 'OrderID' with your actual table and column names
DBCC CHECKIDENT ('Orders', RESEED, (SELECT MAX(OrderID) FROM Orders));
Run this statement for every table with an IDENTITY column. The BlueprintDB Schema Sync log lists which columns were created with IDENTITY.
Troubleshooting
Cannot connect to Access — “Could not find installable ISAM”
The ACE OLEDB driver is missing or is 32-bit while BlueprintDB is running as 64-bit. Download and install the Microsoft Access Database Engine 2016 Redistributable (x64).
Schema Sync — “There is already an object named X in the database”
The target SQL Server database is not empty. Drop the conflicting tables or point Schema Sync at a fresh empty database.
Transfer fails with “String or binary data would be truncated”
A text value in Access is longer than the column length defined in the Blueprint. Open the Columns window, find the affected column, and increase its length (or change the type to LongText → NVARCHAR(MAX)). Re-run Schema Sync (it will ALTER the column) and then re-run the Transfer.
Yes/No columns arrive as 0 / -1 instead of 0 / 1
Access stores Yes as -1 internally. BlueprintDB normalises this to 1 during transfer. If you see -1 in SQL Server, the column type in the Blueprint was not set to Boolean — it was transferred as a raw integer. Fix the column type in the Blueprint, drop and recreate the column via Schema Sync, and re-transfer that table.
Summary
Moving from Access to SQL Server with BlueprintDB follows four steps:
- Schema Import — reads the Access schema with type mapping applied automatically.
- Review — verify types and relations before syncing.
- Schema Sync — creates tables, columns, and foreign keys in SQL Server.
- Transfer Data — copies all rows from Access to SQL Server.
The same workflow supports all backend combinations available in BlueprintDB Pro. Once you have a Blueprint of your schema, you can sync it to any supported engine at any time — making BlueprintDB useful not just for one-time migrations, but for maintaining schema consistency across multiple environments.